Glass surfaces are prone to scratches, whether from accidental impacts or long-term wear and tear. These unsightly marks can be very unsightly and detract from the overall beauty of the glass object or window. Luckily, there’s a simple do-it-yourself solution that can help restore glass to its perfect shine – use sandpaper to remove those pesky scratches.
Before we delve into the process, it’s important to note that this method only works on minor scratches. For deep or extensive scratches, it’s best to consult a professional.
When using sandpaper to remove scratches from glass, preparation is key to ensuring success. Here are two important steps to follow:
Clean the glass surface: Start by cleaning the glass surface thoroughly with soapy water or glass cleaner. This step ensures that any dirt, dust, or grime that may interfere with the sanding process is removed. Make sure the surface is completely dry before proceeding to the next step.
Protect the surrounding area: Take precautions to prevent damage to the area around the scratch. Use tape or cardboard to cover the area around the scratch. This will act as a protective barrier to prevent any inadvertent sanding of unaffected areas.
To use sandpaper to remove scratches from glass, it’s important to choose the right sandpaper for the job.
Here are two key considerations:
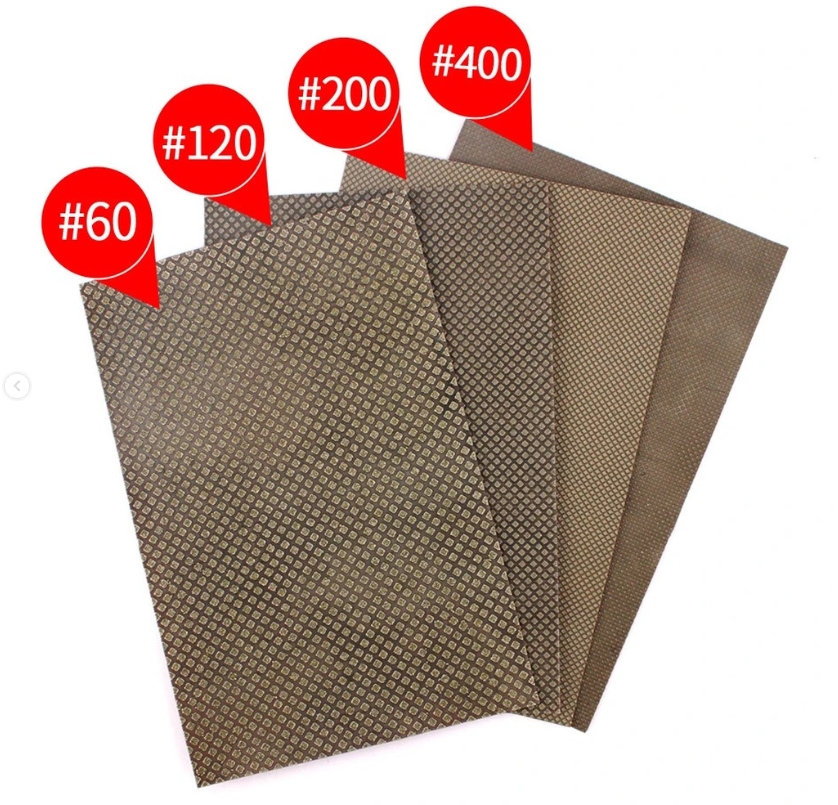
Sandpaper Thickness or Grit Size: The grit size of the sandpaper determines the thickness of the abrasive particles. For deeper scratches, it is recommended to start with coarser sandpaper and gradually switch to finer sandpaper to achieve a polished effect. The grit size of sandpaper ranges from coarse to fine, usually represented by the symbol “#” before the number (for example, 60#, 120#, 200#). Coarse-grit sandpaper, such as 60#, is more aggressive and can effectively remove deeper scratches. Finer-grit sandpaper, such as 200#, is suitable for fine polishing and smoothing out any remaining scratches for a smooth surface.
Size of Sandpaper: For ease and control in sanding, it is recommended to cut the sandpaper into smaller, manageable pieces. You can cut it into a square or rectangular shape, making sure it’s large enough to hold and handle comfortably. This will allow you to have more control over the sanding process and target specific areas efficiently. Remember to always moisten the sandpaper with water or lubricant when sanding to reduce friction, prevent overheating, and get better results. Before starting the sanding process, make sure the glass surface is clean and free of debris. Since sanding can be an abrasive process, be sure to use caution and test it on a small, inconspicuous area first to evaluate its effect on the glass and determine the most effective sandpaper for your specific scratch removal needs.
Correct operation
Start sanding: First, wet the sandpaper with water, then rub it gently back and forth over the scratched area. Moisture helps prevent excessive friction, which can deepen scratches. Apply moderate pressure and continually move the sandpaper back and forth. It is crucial to be patient and avoid overexertion.
Check for improvements: While sanding, pay close attention to the surface. A slight heat may appear on the sandpaper, indicating that it is working effectively. After several passes, pause for 1-2 seconds to check the scratched area. Usually, the scratches will begin to fade, but they may not completely disappear immediately. It’s important not to rush it, as sanding too hard may cause more harm than good.
Verify that the scratches have disappeared: After completing the sanding process, you must evaluate whether the scratches have disappeared. Gently touch the treatment area with your fingers. If the scratches are no longer detectable, rinse the glass with water to remove any remaining debris or sanding particles. This step will help reveal the true results and ensure any remaining scratches are addressed effectively.
Replace worn sandpaper: Over time, the surface of sandpaper can become worn, affecting its effectiveness. When the sandpaper shows signs of wear, it is crucial to replace it promptly. Continuing to use worn sandpaper may prevent the desired results. Remember to always use a sandpaper grit that is appropriate for the type of glass you are using.
Precautions
Gentle touch: When using sandpaper, do not use too much force, otherwise it may cause more scratches or even damage the glass surface.
Protect your hands: Always wear protective gloves when handling sandpaper and dust to protect your hands from potential injury and prevent dust from entering your skin.
This precaution ensures your safety and minimizes the risk of any adverse effects. By following these basic precautions and using sandpaper correctly, you can easily restore the original look of glass and make your glass items look new again. Note that this method works best for minor scratches on the glass surface. Deeper scratches or more delicate glass installations may require professional help to avoid any potential damage.
Post time: Nov-17-2023